
CLEANING GUIDES
How to prepare for an oven cleaning appointment
| Guide | What you will find |
|---|---|
| What it covers | Check the oven model, list the parts to include and prepare the kitchen before an oven clean, without dismantling the appliance or confusing cleaning with repairs. |
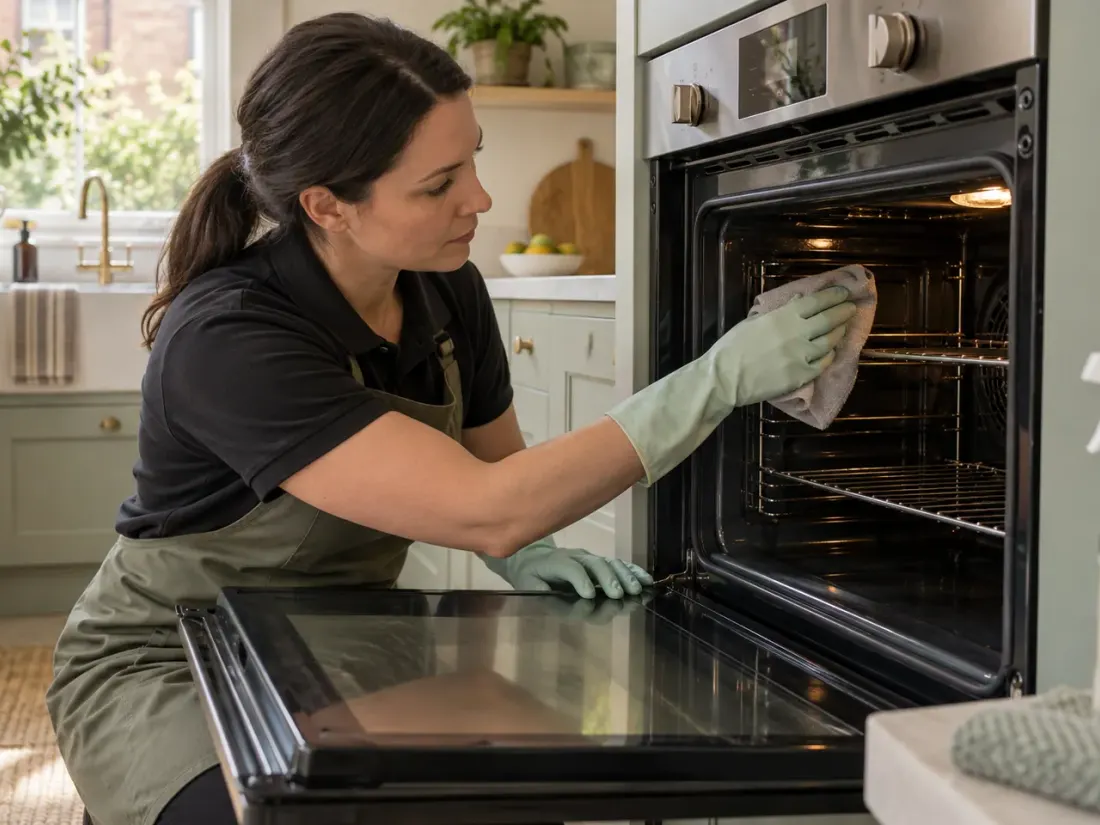
Which type of oven do you have?
| Appliance detail | What to check |
|---|---|
| A single oven | Photograph the complete front to show size, controls and position, then add an inside view. A dirty-corner close-up alone does not explain which appliance or compartment needs cleaning. |
| A double oven | Say there are two compartments and whether both need cleaning. Photograph each open compartment so a separate smaller oven or grill is not overlooked beside the main oven. |
| A range cooker | List the compartments and photograph the cooker from end to end. A range may have more parts to discuss than its main oven, so include the extra sections. |
| A compact combination | Keep the full model description for a compact combination appliance. Its own care instructions matter; a similar-looking front does not make it identical to an ordinary oven. |
| The model number | Find model details in the paperwork or on a normally reachable label. Photograph the full label rather than copying a partial code; do not pull the appliance out. |
| A replacement appliance | Check that your photographs and paperwork describe the oven now fitted. After a replacement or tenancy change, an earlier appliance may still be named in messages or the inventory. |
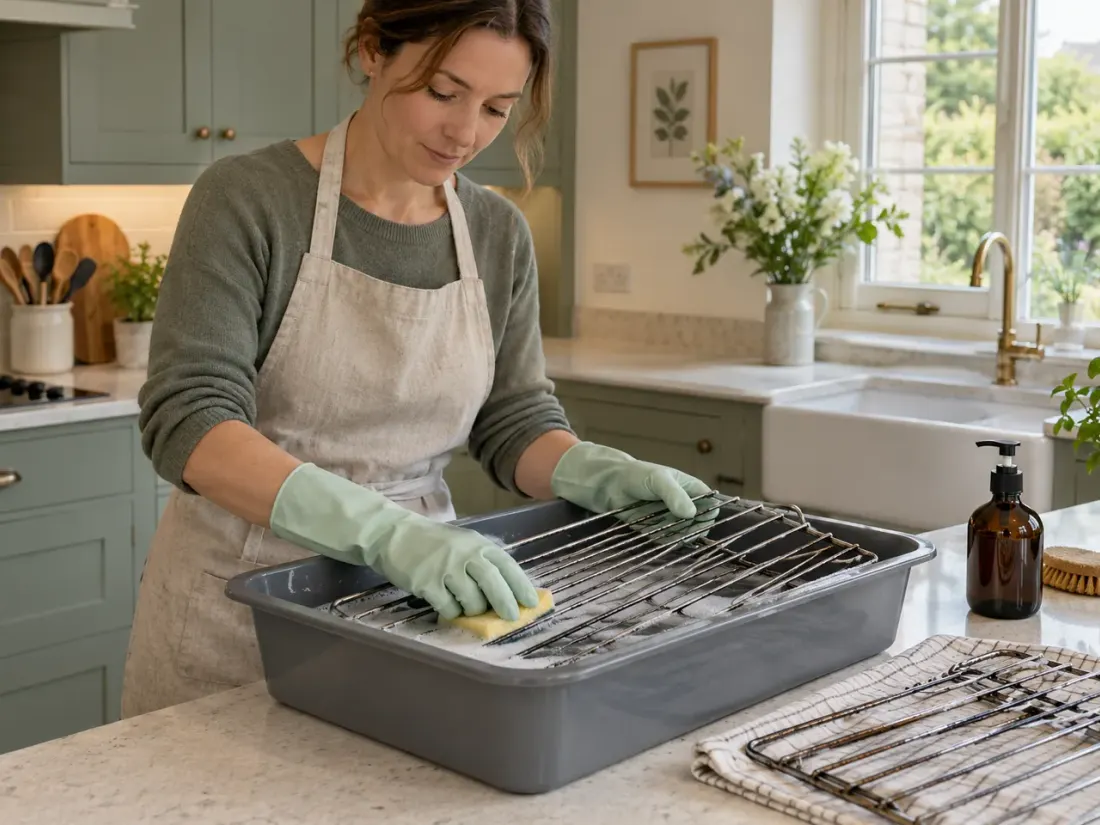
Oven compartments, racks and accessories
| Part or addition | A helpful distinction |
|---|---|
| Oven compartments | List each compartment you need cleaned and send an inside photograph. This gives a clearer description than calling the whole cooker dirty, especially when one compartment is heavily used and another is rarely switched on. |
| Shelves and racks | Count the shelves or racks you want included and show their condition. Mention extras stored elsewhere, rather than expecting a photograph of the oven interior to explain every accessory that will appear on the day. |
| The grill pan | Say whether the grill pan and its separate insert need cleaning. List personal baking trays or roasting tins separately, and check which accessories are included in the quotation before the appointment. |
| Personal cookware | Ask separately about roasting tins, baking trays or other cookware. These are not explained by the oven’s model number, and their own materials or coatings may have different cleaning instructions from the appliance interior. |
| The hob | Add the hob explicitly if it also needs attention, with its type and photographs. Cleaning an oven cavity and cleaning the cooking surface above it are different jobs to include when comparing prices. |
| The extractor | List the extractor separately and show the hood and filters you are asking about. Do not include concealed ductwork or repairs in your expectation simply because the extractor sits above the cooker being cleaned. |
Use photographs to explain dirt and existing damage
| View | What the picture should show |
|---|---|
| The complete front | Include the oven front and a little of the surrounding kitchen. This shows whether it sits under a worktop or higher in a cabinet, without relying on a close-up that hides its position. |
| Each open compartment | Photograph the compartments when the oven has cooled and can be opened normally. Show the shelves, door and lining together before adding close-ups of particular deposits or marks that are difficult to see. |
| A dirty detail | Use a close-up for built-up residue, then keep a wider picture showing where it sits. This is clearer than sending several similar pictures without showing which compartment or part each one belongs to. |
| Door glass | Show the door and describe whether a mark seems to be on a reachable surface or between glass layers. You do not need to take the door apart to explain the concern or obtain advice. |
| Damaged parts | Point out loose handles, chipped lining or a damaged seal before the visit. Ask about these faults separately from cleaning so you know whether repair advice is needed as well. |
| The surrounding space | Show anything that blocks opening the door or standing in front of the appliance. A wider kitchen view can explain a tight corner more easily than a measurement that does not show the obstruction. |
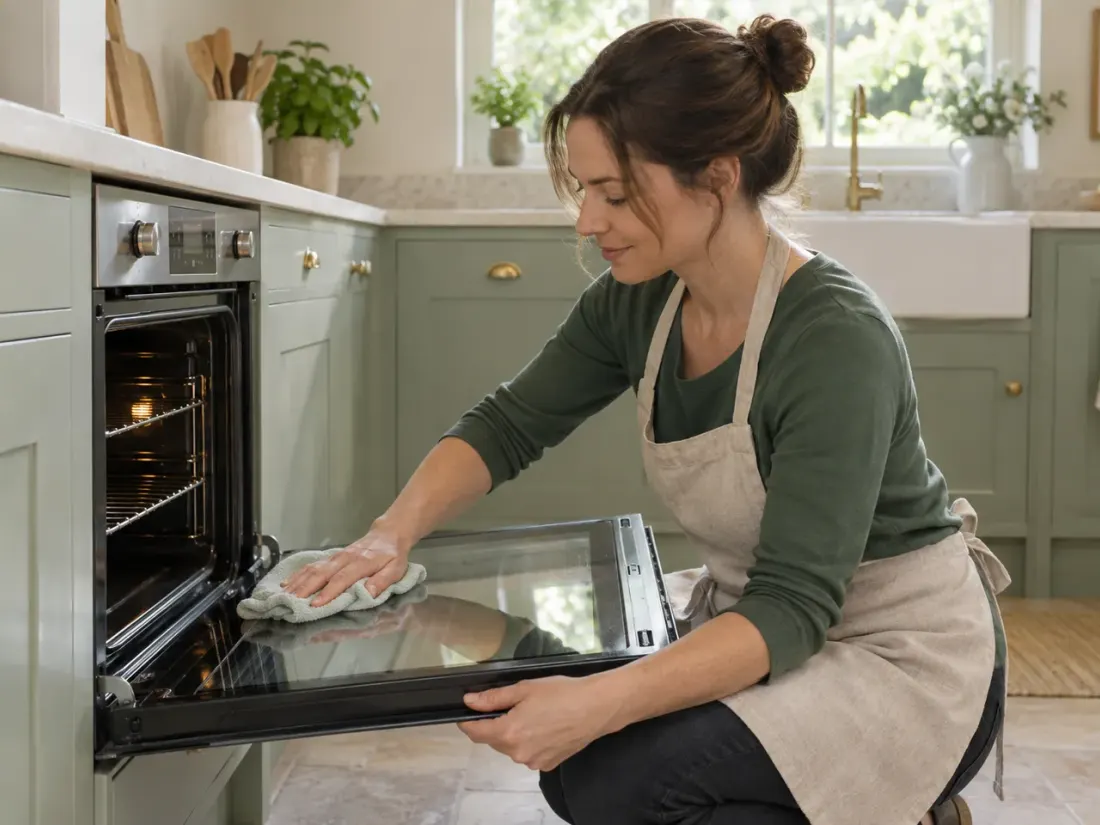
Prepare the kitchen for the visit
| Before the appointment | A practical step |
|---|---|
| Cooking plans | Plan your final use of the oven before the appointment and allow it to cool. Ask the provider how long it should be left unused before the cleaner arrives. |
| Food and utensils | Take food and personal utensils out of the oven before cleaning. Decide where those belongings should go yourself, so the visit does not begin with someone sorting stored pans or choosing what to discard. |
| The worktop nearby | Clear loose food containers and personal items from the immediate work area. You do not need to empty every kitchen cupboard, but explain if a cabinet door or stored object blocks the oven itself. |
| The floor in front | Move small loose items out of the standing area and tell the cleaner about anything fixed in place. Discuss larger obstacles beforehand instead of dragging heavy kitchen furniture simply because an appointment is approaching. |
| A fitted cooker | Leave questions about moving or disconnecting the appliance for a separate discussion. Cleaning preparation does not require you to pull out a fitted oven, undo its fixings or interfere with its gas or electrical connection. |
| Someone else opening up | Give the keyholder the appliance details and cleaning list if you cannot be there. They should know which oven is being cleaned and where you have left the care instructions or important notes. |
Check the cleaning instructions for your oven
| Question | Where to start |
|---|---|
| The correct manual | Find the instructions for the full model number, not just the brand. Bosch UK’s oven support, for example, directs owners to their manual for model-specific help. Another model’s video is not a substitute for your own instructions. |
| Special linings | Pass on details of any special lining or coating described in the manual. An oven interior can contain different components, so the appearance of one panel should not decide how every other surface is cleaned. |
| Cleaning functions | Tell the cleaner about built-in cleaning functions and check the manual before using them. Do not run a cycle merely because a separate professional appointment is booked; ask whether any preparation is needed first. |
| Shelves and supports | Ask whether shelves should stay inside for the visit and follow the model’s instructions for any handling you do. There is no need to force a support or loosen screws just to demonstrate that it is removable. |
| Door components | Discuss between-pane cleaning before expecting the door to be dismantled. Supply the model details and photographs first, so the conversation can address that door rather than borrowing a removal method from another appliance. |
| Earlier products | Mention products already applied and keep their packaging information if you have it. Avoid layering another cleaner onto the residue before the visit; describing earlier treatment is more useful than experimenting to improve the photographs. |
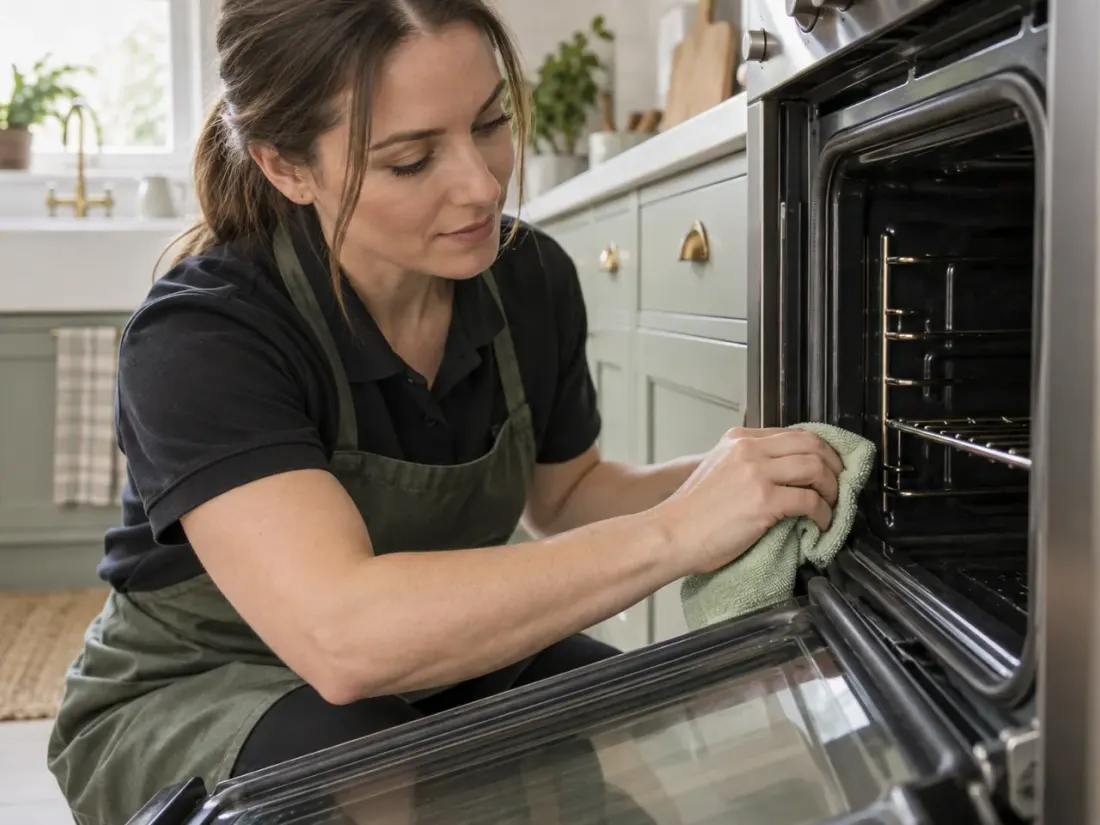
Existing faults and damaged parts
| What you notice | What to discuss |
|---|---|
| A loose handle | Report a loose handle before the visit. Cleaning its surface does not tighten or replace its fixings, so the cleaning appointment should not be mistaken for a repair booking. |
| Damaged enamel | Show lining chips or worn patches alongside deposits. Removing grease cannot put missing coating back, and an old oven can still show wear after it has been cleaned. |
| A faulty seal | Describe a torn or displaced seal separately from door marks. Wiping nearby surfaces does not supply a new part or promise that the appliance will work differently. |
| Heating problems | Explain heating problems before booking. An oven clean is not a fault diagnosis or temperature test, and photographs alone cannot establish why the appliance is not heating properly. |
| Unusual behaviour | Discuss faults with the manufacturer or an appropriate repair professional. Keep that separate from removing food deposits rather than using the cleaning visit as a substitute for technical support. |
| A result promise | Ask about old staining before treatment. A useful answer can acknowledge permanent marks without promising that a heavily used oven will have an identical factory-new finish. |
Checking the oven after cleaning
| After cleaning | A useful check |
|---|---|
| The included parts | Check the cleaned compartments and accessories against the list agreed when booking. If you would also like a tray or another compartment cleaned, ask whether it can be added and what it would cost. |
| A remaining mark | Point out the part and position of a remaining mark. A close-up with a wider view helps distinguish the concern when old damage and residue sit near each other. |
| Using the oven again | Ask for advice after the treatment and follow your appliance instructions. Do not choose a heating cycle or cooking timetable from another guide to complete a cleaning routine. |
| Accessories and instructions | Keep the manual with any advice about shelves or accessories. Ask about anything unclear before handling it, rather than experimenting with unfamiliar fittings after the cleaning visit. |
| Later cooking | Food and grease will collect again as you use the oven. Follow the care instructions for your model between professional cleans, and ask the cleaner about any mark that returns or is difficult to remove. |
| Arranging the clean | Bring the model, part list and photographs together when asking about oven cleaning. This gives you a practical start without dismantling the appliance or selecting a treatment yourself. |